Showing posts with label Holiday Rhinestones. Show all posts

Friday, March 18, 2022

#GDP334: Hello Ladybug

The challenge at Global Design Project this week is a sketch challenge. It's pretty simple, and I like it!

Since I'm featuring the Hello Ladybug Bundle on social media this week, I decided to use it for this sketch. Here's what I came up with:
 

You can't go wrong with classic colors! Check out that flower the ladybug is sitting on - it was created with the wings from the Ladybug Builder Punch! Punch 4 sets of wings, then layer together with Mini Glue Dots. I found it easiest to put two and two together first, and then put the two sides together. If you are not covering up the middle of the flower, you can add a circle for the center - a circle about 1" works perfectly.
 

Is the Hello Ladybug Bundle on your wish list? It's so fun to work with! 
 

Here is a full list of the supplies I used on this card:
Stamps: Hello Ladybug
Ink: Memento Black, Real Red, Night of Navy
Paper: Night of Navy, Basic White, Daffodil Delight, Regals 6" x 6" DSP Stack
Embellishments: Denim Ribbon, Holiday Rhinestones
Tools: Ladybug Builder Punch
Adhesives: Stampin' Seal+, Mini Glue Dots, Stampin' Dimensionals

Happy Stamping!
Rachel

Thursday, July 1, 2021

July Christmas Card Club Sneak Peek

Is anyone else in a little bit of shock that we've reached July already?! But yet, here it is. Today I am sharing a sneak peek of this month's Christmas Card Club kit with you:
 
 
This club is $35/month, and you can subscribe or cancel at anytime, BUT for every 6 consecutive months you subscribe, you'll earn $25 in free product from me! Here are more details:
 

If you'd like to subscribe to this club, please register here by July 15 to get this month's kit. Then watch your email for a direct subscribe link from me.

Happy Stamping!
Rachel

Friday, January 8, 2021

January Christmas Card Club Sneak Peek

Christmas might be over, but it's never too early for crafters to start on next year's Christmas cards, right? If you've followed me for awhile, you might know that I run two card clubs. One is general occasion cards, and the other is Christmas cards, all the time! Here are a few details about the Christmas Card club:
 

The deadline to sign up for this club every month is the 15th. Here's a peek at the cards for January.


Happy Stamping!
Rachel 

Tuesday, September 29, 2020

Banner Year 3 x 3" Card Class

In this class to go, you'll make twelve 3 x 3" cards - 2 each of 6 designs - perfect for adding to little gifts throughout the holiday season!
 

Here are the options for purchasing:
Option #1 ($69): This option includes the Banner Year Bundle, 1/2 package of Designer Series Paper, a ribbon combo pack, and a package of rhinestones, plus cardstock and envelopes to make your cards. You will also receive a tutorial with step by step instructions.
Option #2 ($31): This option includes everything listed above except for the Banner Year Bundle.
Option #3 ($15): This option includes the tutorial only.
 
The deadline to sign up for this class is Friday, October 9. Invoices must be paid by Saturday, October 10. Classes will ship to you no later than October 19. Tutorials will be emailed when the classes ship. Please sign up here.
 
Happy Stamping!
Rachel

Saturday, May 2, 2020

#GDP238: Ombre Card Collection

The sketch challenge this week at Global Design Project provided a lot of inspiration for me! So much inspiration that I created 4 cards using it - all the same but in different colors. I had to decide which one to use as my entry for the challenge, so I went to my Facebook followers and asked them to vote. It was pretty much a tie between two colors - do you want to see which one I chose?!


The blue/green combo was the winner, simply because I liked the placement of the rhinestones better. Purple is my favorite color, so that one was a close second!


And I created this card in two other colors too!


Leave a comment and let me know which color is your favorite. I've listed all of my supplies below. Each card was done with a watercolor wash using an Aqua Painter and 2-3 inks. I started at the bottom and worked my way up, so that the deeper color would fade into a lighter color. Don't you love the ombre look?


I think this photo is my favorite - the colors are so bright and vibrant! The sentiment comes from the Strong & Beautiful stamp set, and I had four of my very good friends in mind when I created these cards. Thank you for stopping by today. I hope I've inspired you to go and create something bold and beautiful!

Stamps: Strong & Beautiful
Ink: Pool Party, Coastal Cabana, Bermuda Bay, Gorgeous Grape, Highland Heather, Crushed Curry, Daffodil Delight, So Saffron, Melon Mambo, Flirty Flamingo, Stampin' Blends Markers: Dark Bermuda Bay, Dark Highland Heather, Dark Flirty Flamingo, Dark Daffodil Delight
Paper: Whisper White, Watercolor Paper, Bermuda Bay, Gorgeous Grape, Crushed Curry, Melon Mambo
Embellishments: Whisper White Crinkled Seam Binding Ribbon, Holiday Rhinestones, Noble Peacock Rhinestones
Tools: Stitched Labels Dies, Aqua Painter
Adhesives: SNAIL, Stampin' Dimensionals

Happy Stamping!
Rachel 

Wednesday, December 4, 2019

Snowman Season Card Two Ways

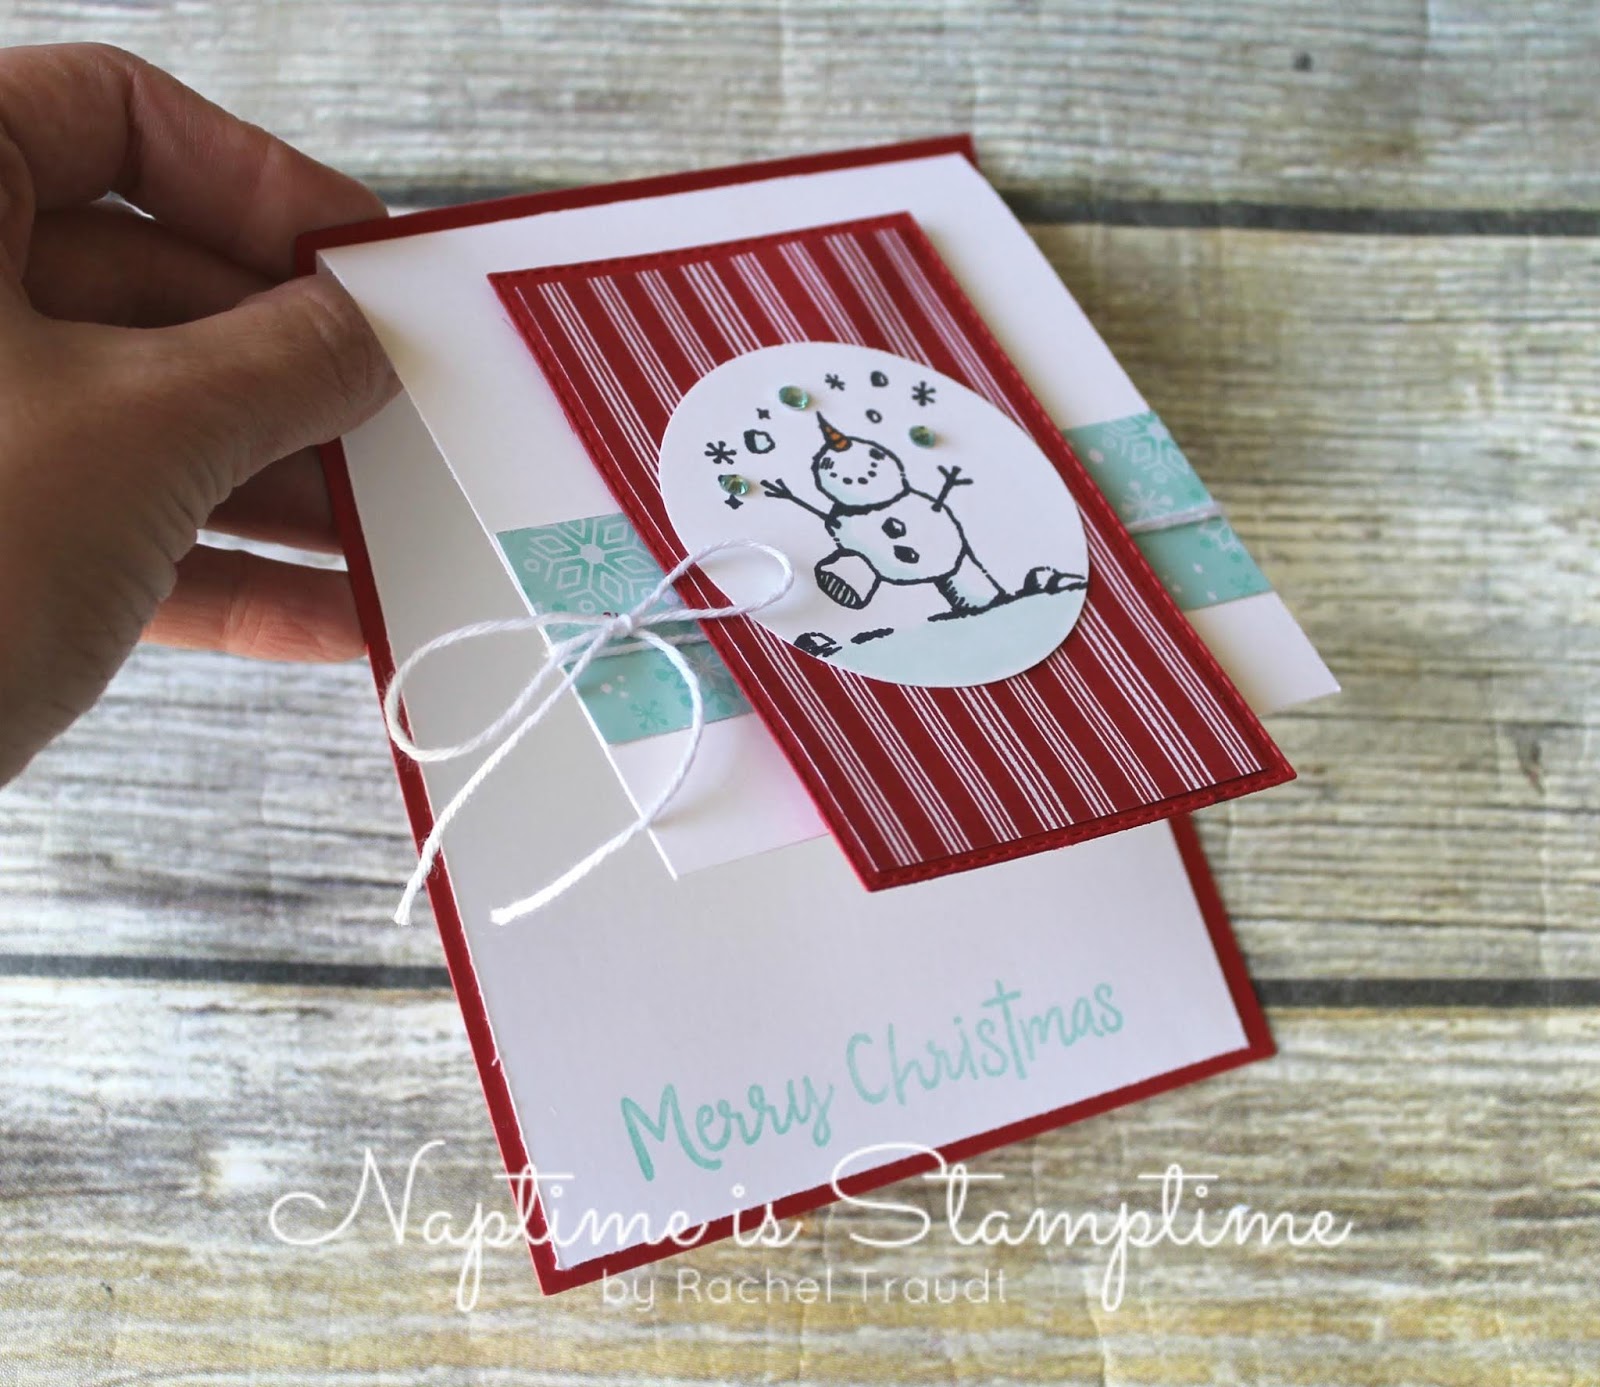
I have two fun cards to share with you today! The fold on this card is a little bit different than your standard card, and I created two different versions using the Snowman Season Bundle. Here's the first one:

This one has very little stamping. The snowman is punched out of Sparkle Glimmer Paper, and his eyes, nose, arms, hat, and scarf are from the Let it Snow Embellishment Kit. There are four different colors of hats and scarves, and all of them match the paper!
The second card is a little more involved - more stamping, and a tiny bit of coloring.
I used the Light Pool Party Stampin' Blends Marker to color shadows on the snowman. And here's a close up of that fold:

To make this type of card yourself, cut a card base 5 1/2" x 4 1/4". Then cut a piece of Whisper White 4" x 9 1/4" and score at 4". Easy peasy! You can copy one of these designs, or create your own.


Stamps: Snowman Season
Ink: Memento Black, Coastal Cabana, Shaded Spruce
Paper: Real Red, Whisper White, Let it Snow Specialty DSP, Sparkle Glimmer
Embellishments: Holiday Rhinestones, White Baker's Twine, Let it Snow Embellishment Kit
Tools: Rectangle Stitched Dies, Die Cutting Machine, Snowman Builder Punch, 2 1/4" Circle Punch
Adhesives: SNAIL, Stampin' Dimensionals

Happy Stamping!
Rachel

Thursday, September 26, 2019

Monster Bash Halloween Card

I have a super cute Halloween card to share with you today! I am not big on Halloween, but I kind of love how this turned out!


I fussy cut the image from the Monster Bash DSP, and it is framed with a few Holiday Rhinestones. The bats and sentiment are from the To Every Season stamp set. And that background? Pigment Sprinkles of course! The card is finished off with some Black Glittery Organdy Ribbon.


Now to find someone to send this to... does anyone send Halloween cards? I never have, but wouldn't this card be a fun surprise in your mailbox?


Stamps: To Every Season
Ink: Memento Black
Paper: Basic Black, Watercolor Paper, Whisper White (inside), Monster Bash DSP
Embellishments: Black Glittery Organdy Ribbon, Holiday Rhinestones
Tools: Pigment Sprinkles, Aquapainter
Adhesives: Stampin' Dimensionals


Happy Stamping!
Rachel

Thursday, September 19, 2019

Stitched Lace Merry Christmas

I have a Christmas card to share with you today! When I started working with the Stitched Lace Dies, I had the idea to use them for a Christmas card. Here's what my idea turned into:


To created the stitched look on the front of your card, cut your card base 4 1/4 x 11". I always score my card bases, but you can also fold it in half. Just make sure to have that line so that you know where to line up the die. Place the large stitched lace die on top of your card front, lining it up with your score or fold line. Five seems to be the magic number on my die cutting machine for running this die through and having it come out pretty easily. Then I used the Take Your Pick Die Brush Tip again, and most of the little pieces came out. Next, line up the edge die, and run through your die cutting machine. I used a little washi tape to hold it in the right place. You can layer cardstock or DSP underneath - cut to 5 1/2 x 4 1/4" and attach with Multipurpose Glue or the Fine Tip Glue Pen.


The sentiment comes from the Itty Bitty Christmas stamp set, which is full of Christmas greetings. I layered the sentiment with the Layering Circles Dies and the Story Label Punch.


Thanks for stopping by today! Leave a comment and let me know what you think of this card.


Stamps: Itty Bitty Christmas
Ink: Cherry Cobbler
Paper: Shaded Spruce, Whisper White, Wrapped in Plaid Specialty DSP, Gold Foil
Embellishments: Shaded Spruce/Gold 3/8" Striped Ribbon, Holiday Rhinestones
Tools: Stitched Lace Dies, Layering Circles Dies, Die Cutting Machine, Story Label Punch
Adhesives: Tombow Multipurpose Glue, SNAIL, Stampin' Dimensionals


Happy Stamping!
Rachel

Tuesday, September 10, 2019

Thinking of You Fall Card

The Come to Gather DSP is so pretty for fall, and it was the starting point for this card. My color combination was a blend of Merry Merlot, Cajun Craze, Crumb Cake, and Very Vanilla. I don't use Very Vanilla often, but it was the perfect fit this time!


I also pulled out the Colorful Seasons stamp set. This one has been around for a few years, but it has the prettiest fall leaves, especially in the coordinating dies! For this project, I simply stamped the leaf outline. I thought it coordinated with the DSP, and knowing Stampin' Up!, that was probably intentional!


This paper has so many pretty patterns. Come back on Thursday to see another card featuring this paper!


Stamps: Colorful Seasons
Ink: Crumb Cake, Merry Merlot
Paper: Merry Merlot, Very Vanilla, Crumb Cake, Come to Gather DSP
Embellishments: Holiday Rhinestones, Braided Linen Trim
Tools: Stitched Nested Labels Dies, Die Cutting Tool
Adhesives: SNAIL, Stampin' Dimensionals


Happy Stamping!
Rachel

Thursday, September 5, 2019

Christmas Chickens

I'm back today with another card featuring the Birds of a Feather stamp set. I think my favorite bird in this set is the chicken. He's meant for Valentine's Day, but I have lots of other plans for that little bird! Take a look at my card:


I used a technique called masking to stamp the three chickens in a row. Stamp your image on a post it note, then fussy cut at least part of it right on the black line. When you place your post it image over the stamped image and then stamp again, the part that is "behind" will get stamped on the post it. Cool, right? I haven't used this technique in a long time, but I needed a flock of chickens to go with my sentiment!


I used my Dark Real Red Stampin' Blends Marker to color the Silver Metallic Edge Ribbon, and finished off the card with some Holiday Rhinestones. Leave a comment and let me know what you think!


Stamps: Birds of a Feather
Ink: Memento Black, Stampin' Blends: Dark Real Red, Dark Mango Melody, Light Flirty Flamingo, Ivory
Paper: Coastal Cabana, Whisper White, Real Red, Let it Snow Specialty DSP
Embellishments: Holiday Rhinestones, Silver Metallic Edge Ribbon
Tools: Rectangle Stitched Dies, Die Cutting Machine
Adhesives: SNAIL, Stampin' Dimensionals, Mini Stampin' Dimensionals, Glue Dots


Happy Stamping!
Rachel