Showing posts with label Gift Packaging. Show all posts

Friday, November 29, 2024

Gift Card Holder Card Class

I don't know about you, but I give a good number of gift cards at Christmas, and the gift is a little bit more special if it comes in something pretty. Enter this card class!
 
In this class through the mail, you'll get supplies to make 5 different gift card holders. You can add on a second set (to make 2 of each) for just $7!
This class includes a full pack of the A Little Bit Festive Specialty Designer Series, a Wink of Stella Glitter Brush, a half pack of the Festive Glimmer Paper, and a package of Iridescent Adhesive-Backed Discs. You will also get all of the cardstock you'll need to complete the gift card holders, plus envelopes, a PDF tutorial, and a video tutorial.
You can choose to add on the Festive Words stamp set, or substitute a stamp set you already own. The ink colors I used are Garden Green, Real Red, and Memento Black. (The Memento Black ink pad is currently out of stock, but any black ink pad will work.) Recommended adhesives are Stampin' Seal+, Stampin' Dimensionals, and Tear and Tape.
This class is $46, plus $10 shipping. If you'd like to add on a second set of gift card holders (to make 2 of each instead of 1), you can do that for just $7.
The deadline to sign up for this class is Tuesday, December 10, and class kits will ship out by December 13. However, if you sign up and pay by Monday, December 2, I will ship an early round of class kits on December 6.
There is an option to purchase the tutorial only. This will include both a PDF and video tutorial. The cost for this is $15.

You can sign up here.
 
Please let me know if you have any questions.
 
Happy Stamping!
Rachel 

Sunday, December 3, 2023

Creation Station: Santa's Workshop


Happy December! Can you believe it's already the last month of the year? It's time for this month's Creation Station Design Team blog hop, and this month, our theme is Santa's Workshop.
 

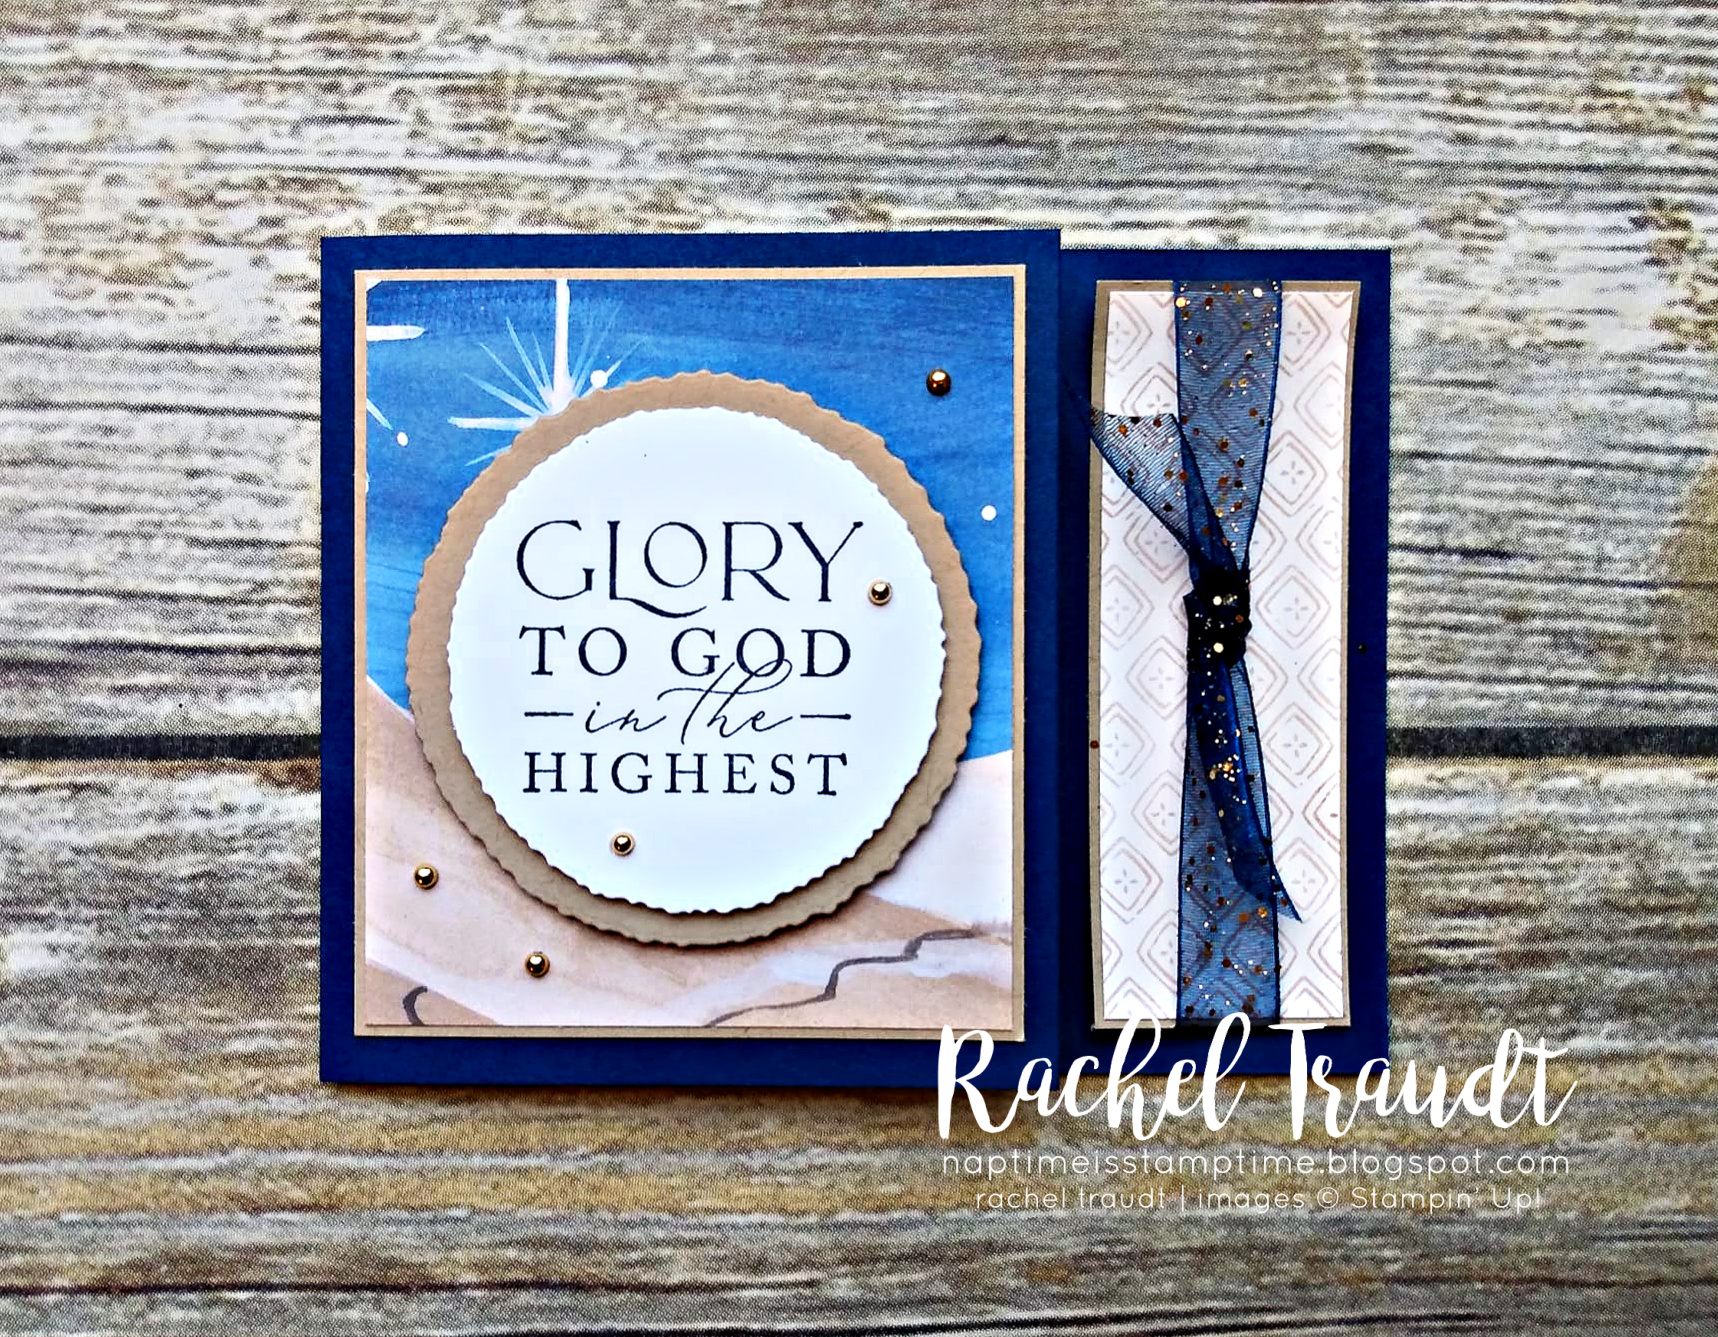
To me, Santa's Workshop means it's time for gift-giving, and so I've created some gift card holders.
 

I've used products from the O Holy Night Suite for my gift card holders. This suite was so popular that the paper I used has already sold out! The good news is that this gift card holder is an easy fold to duplicate with any paper you'd like. 


Here are the dimensions:
  • Night of Navy card base: 4 1/4" x 11", scored at 5 1/2" and 9 1/4"
  • Crumb Cake (front left): 3 3/8" x 3 7/8"
  • Designer Series Paper (front left): 3 1/4" x 3 3/4"
  • Crumb Cake (front right): 1 3/8" x 3 7/8"
  • Designer Series Paper (front right): 1 1/4" x 3 3/4"
  • Basic White (inside): 3 1/2" x 4"
  • Designer Series Paper (inside pocket): 1 1/2" x 4"
I've used the Decorative Circle Punch to punch a little notch in my gift card pocket. You could use any circle punch, but I really like the scalloped edge of this one.
 

Are you still crafting for Christmas? Make sure to hop along and see what the rest of the team has created to inspire you this Christmas season! Next up is Julie Beltramo. I can't wait to see what she's created this month!
 

Happy Stamping!
Rachel


Monday, May 4, 2020

Ornate Garden Sliding Gift Box

Hello, and happy teacher appreciation week! As a former teacher, I always have a lot of fun spoiling my kids' teachers for holidays like this one. This year, it looks a little bit different since the kids haven't been at school. I still wanted to do something to say thank you to their teachers, so I whipped up these fun sliding gift boxes and we dropped them off yesterday when we picked up their schoolwork.


Now when I say I "whipped them up", it was not really quick or easy. Creating my own 3D projects is a little out of my comfort zone. Usually I find a tutorial I can copy and then create my own design from the tutorial. This time I actually figured out the measurements myself, and only wasted a few pieces of paper! I will be sharing a tutorial I created for this box with my email subscribers on Thursday. If you aren't on my email list, you can join here.


If you're reading this farther down the road, just send me a message after you join my email list, and I'll forward the tutorial on to you. Hopefully this project inspires you to do a little something extra for the teachers in your life this week!

Stamps: Ornate Thanks
Paper: Whisper White, Terracotta Tile, Old Olive, Crumb Cake, Ornate Garden Specialty DSP 
Embellishments: Ornate Garden Ribbon Combo Pack, Gilded Gems
Tools: Versamark, White Embossing Powder, Heat Tools, Stitched Shapes Dies
Adhesives: Tear and Tape, Stampin' Dimensionals, Mini Glue Dots

Happy Stamping!
Rachel 

Shop with me in May and earn a free mystery embellishment for every $35 you spend! You must use the host code GGTQGC3F when you order. You can contact me to place your order or shop here.


Monday, December 31, 2018

Baker's Box Treat

I have a few last Holiday Catalog projects to share with you. This one is from a few months ago - oops!


I colored the Baker's Box with Coastal Cabana ink. I first tried to spritz it, but I wasn't getting very good coverage. I ended up using a sponge dauber to finish adding and evening out the color. I think a sponge brayer would probably be the most efficient way to add color to the box. I've since added some to my craft room!


These boxes are food safe, and I added a large slice of cheesecake to mine. This was a birthday treat for Jenna's teacher. The Glittered Organdy Ribbon finished it off with a little sparkle. I love this ribbon!


Stamps: Stitched All Around
Ink: Coastal Cabana, Tuxedo Black
Paper: Whisper White
Accessories & Tools: Baker's Boxes, Sponge Daubers, 5/8" Black Glittered Organdy Ribbon, Stitched Labels Framelits, Big Shot, Rhinestones


Happy Stamping!
Rachel

Thursday, December 6, 2018

Facebook Live: Quick & Easy Gift Bag

On yesterday's Facebook Live, I showed how to make a quick and easy gift bag using two sheets of 8 1/2" x 11" cardstock and one 12" x 12" sheet of Designer Series Paper. I followed the instructions from Ronda Wade's video here. You can watch my demonstration here. Here are a few measurements to help you out:
Score each piece of 8 1/2" x 11" cardstock down the long side at 1 1/2" on both sides. Score each piece at 2 3/4" down the short side, just on one side. Cut up your score line to the 2 3/4" score line on both sides to make two flaps.
Cut 4" off the top of the DSP. Then cut at 5 1/4" twice so you have two pieces of DSP that measure 5 1/4" x 8".


I am also linking up with two design challenges this week, TGIF Challenges - Anything But a Card, and Global Design Project - Tis the Season.


The tags on the bags were stamped and punched using the products in the Christmas Traditions Punch Box, on sale for only $27.00 right now! All other supplies are listed below. Please note that I used retired gold tinsel trim on one of the bags. I would recommend the Gold Metallic Edge Ribbon as the perfect substitute!


Stamps: Christmas Traditions
Ink: Poppy Parade
Paper: Poppy Parade, Whisper White, Santa's Workshop Specialty DSP (sold out), Sparkle Glimmer Paper, Gold Foil, All is Bright DSP
Accessories & Tools: Layering Circles Framelits, Stitched Shapes Framelits, Christmas Traditions Punch, Versamark, Heat Tool, Gold Embossing Powder, Big Shot, Poppy Parade Textured Weave Ribbon, Whisper White Classic Weave Ribbon, Gold Tinsel Trim (retired), Stampin' Trimmer


Happy Stamping!
Rachel

Friday, May 11, 2018

Cool Treats for Teacher Appreciation

I have a quick post for you this afternoon. As you probably know, it was Teacher Appreciation Week this week. I would have loved to do something for Jenna's teacher every day, but that just wasn't going to happen this year. So we did a fun gift today, and her teacher loved it!


I thought the Cool Treats stamp set and Frozen Treats Framelits would go perfectly with an ice cream gift. The card is just flat, and we wrote on the back. Ice cream toppings fit nicely in the 6 x 17 Gusseted Cello Bags, and I tied it all up with the Lemon Lime Twist Mini Striped Ribbon. Most of these products are retiring, so make sure to snatch them up before they disappear! This gift would also be great as an end of the year teacher gift, so if you missed out on Teacher Appreciation, keep that in mind.

Stamps: Cool Treats
Ink: Flirty Flamingo, Pool Party, Lemon Lime Twist, Crumb Cake
Paper: Flirty Flamingo, Whisper White
Accessories & Tools: Frozen Treats Framelits, Big Shot, Whisper White Baker's Twine, Silver Mini Sequin Trim, Lemon Lime Twist Mini Striped Ribbon, 6 x 17 Gusseted Cello Bags

Happy Stamping!
Rachel 

Thursday, August 24, 2017

June 2017 Paper Pumpkin: One in a Melon

Some of you probably know that I used to be a teacher. And to my surprise, my daughter is now attending school at the first school I taught at. Teachers have a special place in my heart, and especially these teachers, some of whom I taught with for four years. I wanted to do something special for them on the first day of school, and June's Paper Pumpkin kit was the perfect solution!


As soon as I received this kit, I knew that I wanted to use it for the first day of school teacher treats. So I purchased a refill kit as well, giving me enough for the 8 teachers at my daughter's school. (Refill kits are available only to Paper Pumpkin subscribers - an awesome perk!) Each teacher got a little gift bag and a card wishing them well on the new school year.


Inside each gift bag, I filled one of our 6 x 8 Cellophane Bags with sweet little gummy watermelons that I found at Walmart for 98 cents. (I forgot to take a picture - sorry!)


Since I had a few extra supplies from my two kits, I also made an alternate card using the Cool Treats stamp set. The sentiment from that set paired perfectly with the watermelons!


Paper Pumpkin kits have been really great recently! September's kit promises to be a good one, too! Stampin' Up! has been dropping some hints, so here's what I know: there will be beautiful embellishments, it will get you in the mood for fall, and it will be a fall-themed project bedecked with stamped leaves and laser-cut, gold foil stickers. And the best part is that if you are a new subscriber, you can get September's kit at 50% off! Click here to subscribe, and make sure to enter the promo code HALFOFF0917.


Happy Stamping!
Rachel

Thursday, June 22, 2017

Birthday Memories Gift Bag

My oldest recently turned 5, and she'll be starting kindergarten this fall. I am definitely not ready for that yet! Along with school comes invitations to birthday parties. She's not even in school yet, and we are invited to one tomorrow evening. Thank goodness Stampin' Up! has the perfect suite of products for kids' birthdays - the Birthday Memories Suite.


I used a few of the products from this suite to create a cute gift bag and a matching card.


I love this piece of the Designer Series Paper, and I used both pieces from the package to create the gift bag. I am planning to do a tutorial video next week, so stay tuned for that!


I used a second tag on my matching card, and added in some more of the DSP. Love those polka dots!


This suite of products is one of my favorites in the catalog. I hope you like it too!


Stamps: Birthday Delivery
Ink: Sweet Sugarplum
Paper: Pacific Point, Whisper White, Birthday Memories DSP
Accessories & Tools: Layering Circles Framelits, Big Shot, Crushed Curry Mini Chevron Ribbon, 2017-2019 In Color Bitty Bows, Gift Bag Punch Board


Happy Stamping!
Rachel